
We moved into a new house last fall, and along the west side of the house someone had planted several young fruit trees. At that time they only had green leaves on them; no fruit because summer is the time for fruit harvest. During the winter they lost all their leaves and looked less like trees and more like little sticks stuck into the ground.
The surprise happened in the spring when the trees started to grow taller, and went through the life cycle of blossoms, leaves, and fruit. The trees really grew up and became taller and wider! We learned those 4 trees are all fruit; plum, apricot, apple, and pomegranate. There’s also a white peach tree in the front yard (with 4 small peaches growing on it!)
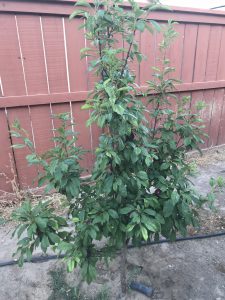
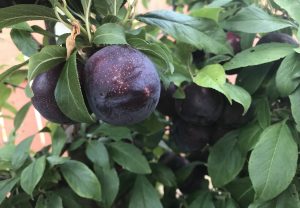
The plum tree is nowhere near the largest (it’s only about 6 feet tall) but it has the most fruit on it. It’s FULL of plums right now! The plums like to hide under the leaves while they’re growing and ripening.
Of course, when the kids saw them, they HAD to taste them! They’re not quite ripe enough, but they enjoyed eating fruit right off the tree.
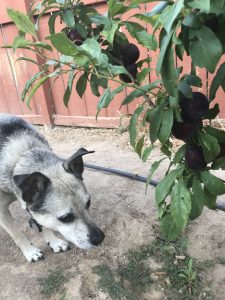
Even Biscuit wanted to check out the plum tree! He’s not been brave enough to attempt to pick one off the tree….yet (or that we know of- we’ve not seen him stick his nose into the tree, but of course he could do that when we’re not looking). I’m sure if any happen to fall to the ground before we have a chance to pick them, they’ll instantly become dog treats.
We’ve saved seeds from several vegetables we eat regularly in preparation for our future garden. So far we have bags of cantaloupe, pumpkin, and bell pepper seeds. Tip: if you’re saving seeds it’s best to keep them in a fabric bag, but if you decide to keep them in a plastic bag do NOT zip the bag closed. The seeds need air or they will mold. You don’t want to plant moldy seeds.
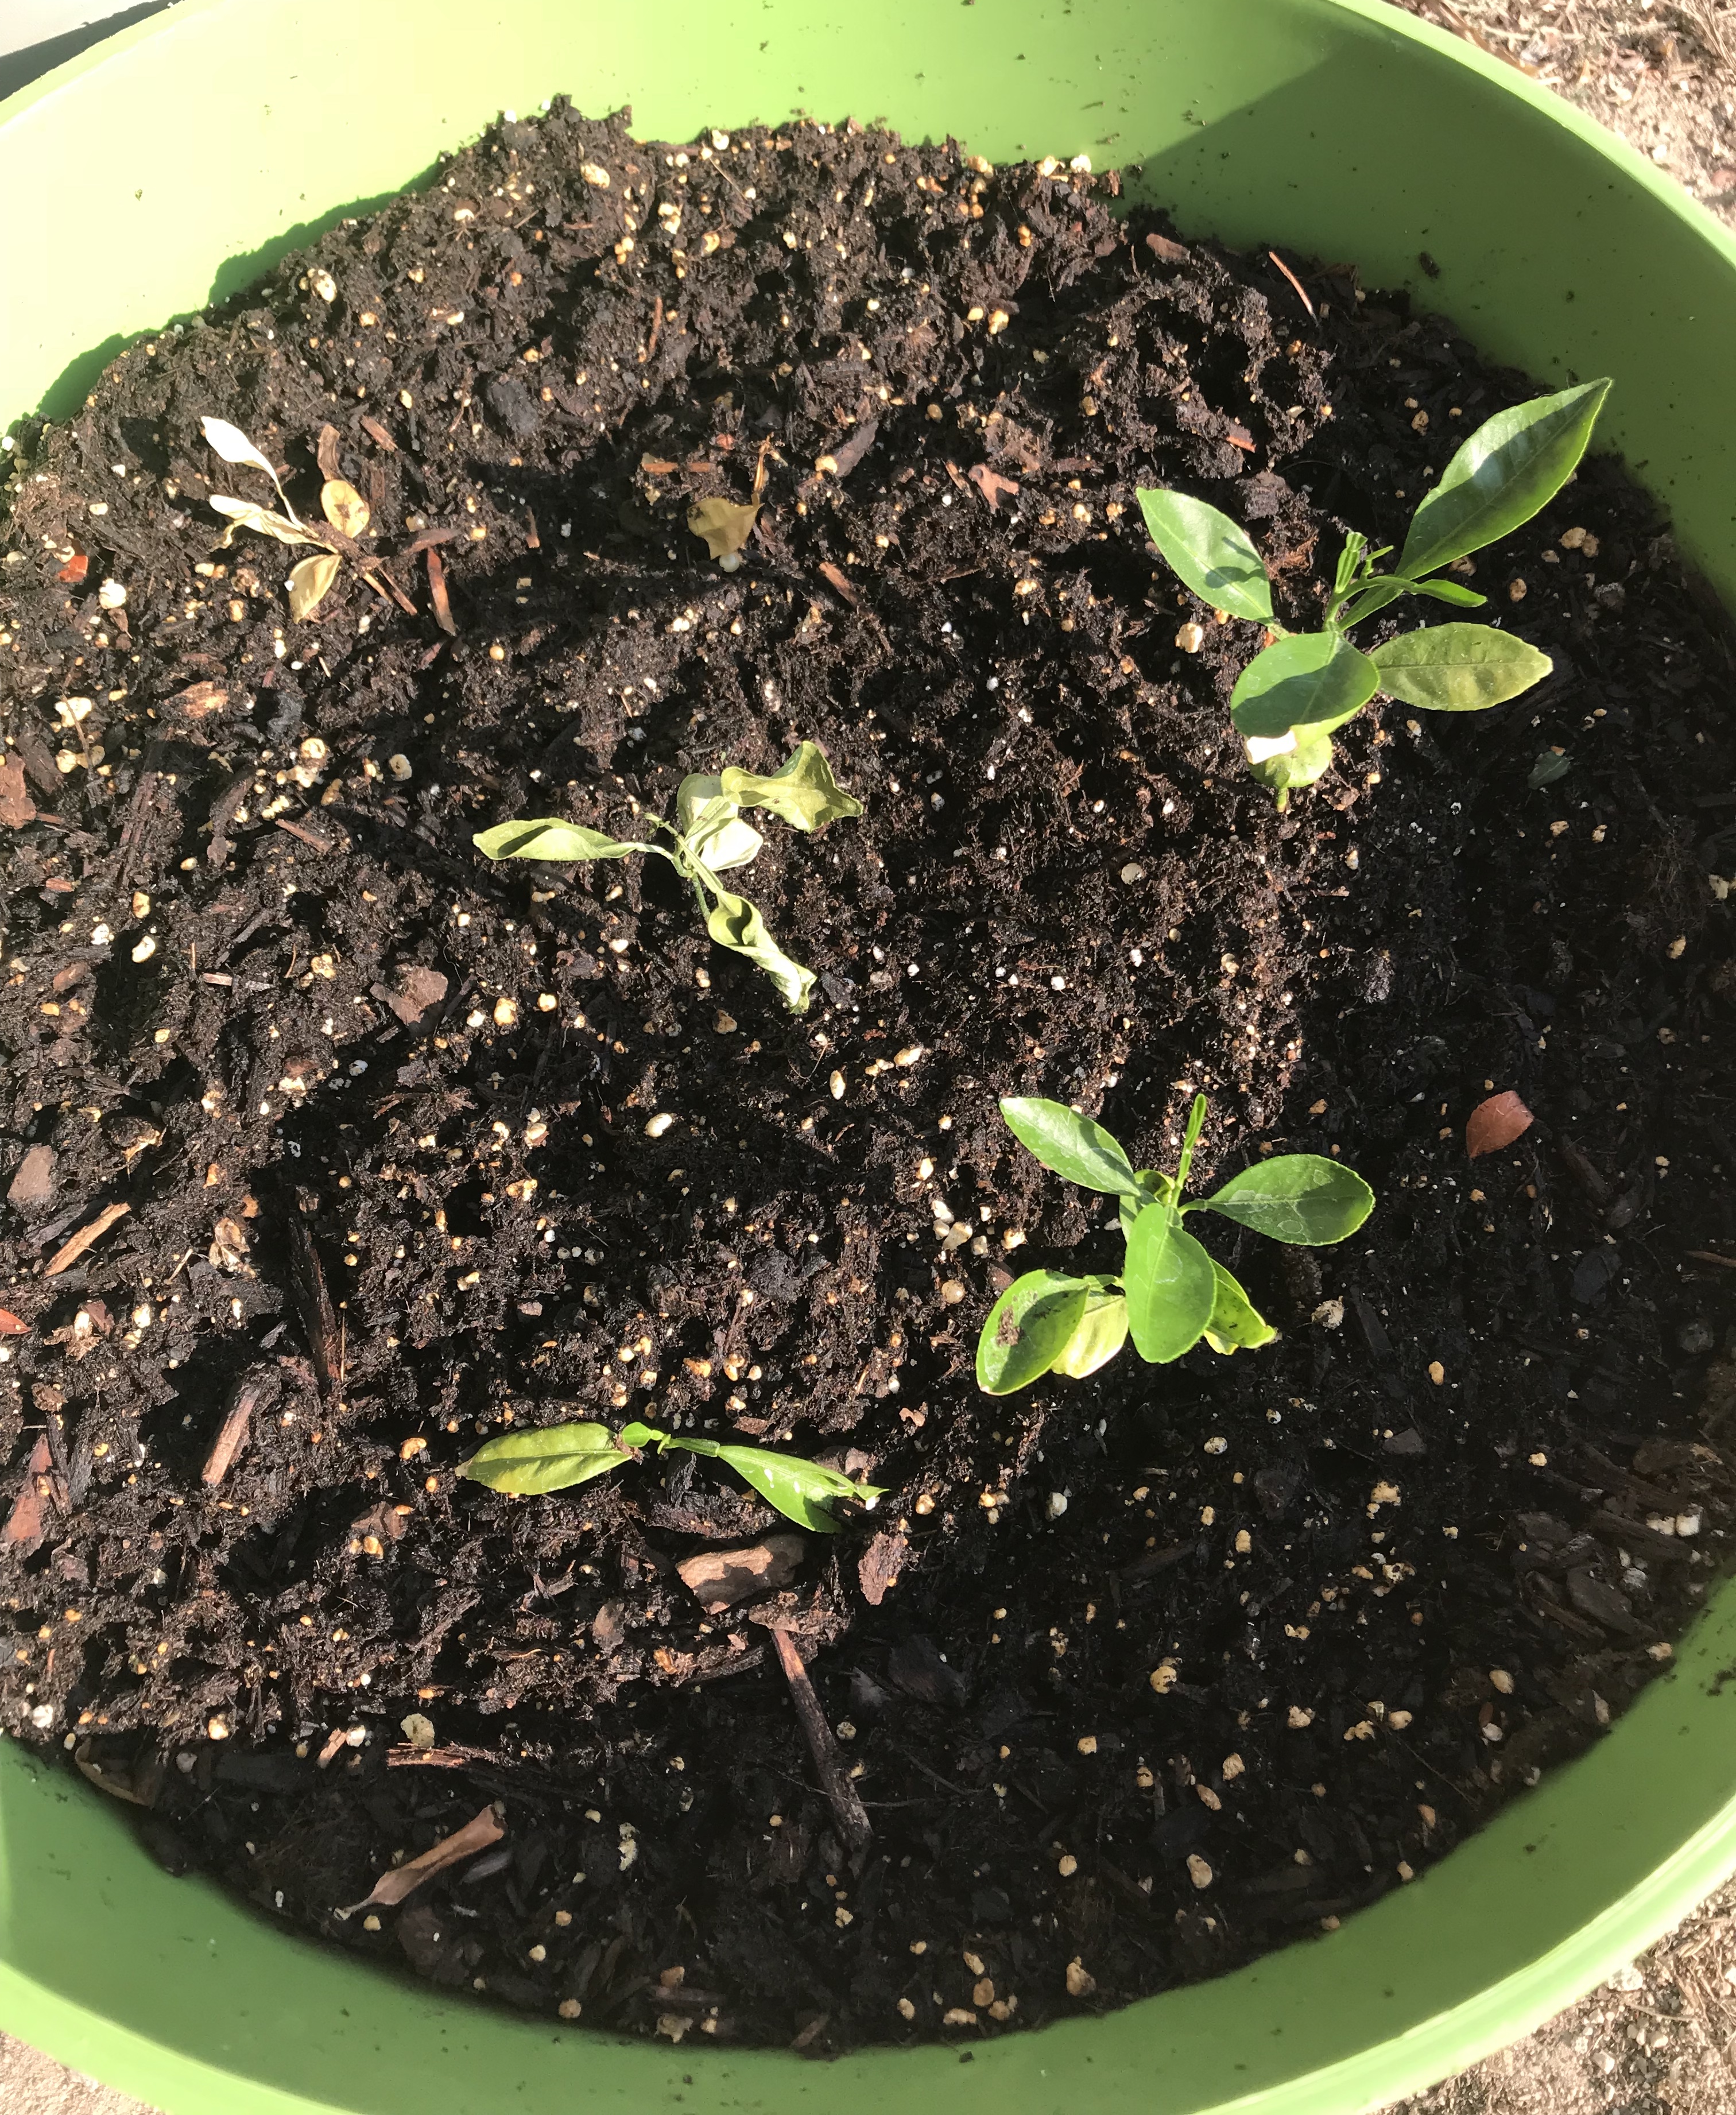
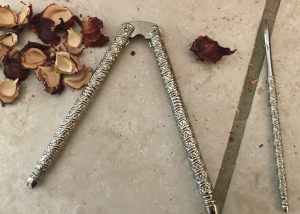
After tasting the plum, the kids were interested in the pits, so of course we needed to investigate and do a little research as to how to plant the seeds. Thanks to Pinterest we found out we needed to let the pits dry out and then crack them open to get the seed out. I always thought the whole pit was the seed, but it’s not. Since the plum pits were small I used a nutcracker and pick.
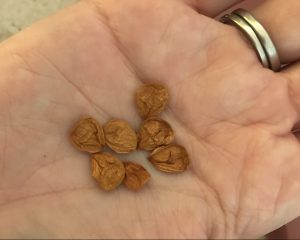
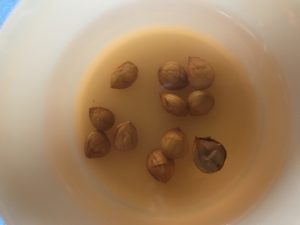
The harvested seeds were very small and shriveled because the plum pits needed to dry before we cracked them open.
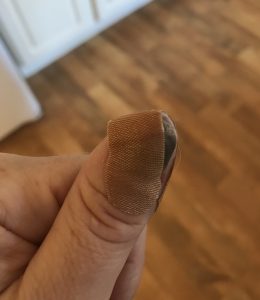
Yep, you betcha I got injured from the pick! I was prying one open and the pick slipped and perfectly poked me right in the thumb! A little bit of blood, (along with a throbbing pain for a bit). Caution: If you attempt this at home make sure the adult is handling the pick and please be careful! My 7 year old doctor-son was quick to get me a bandage to stop the bleeding.
The next step was to soak the seeds in water. They all floated to the top. We tried to poke them down into the water, but the stubborn seeds wanted to stay on top like they were lounging at the pool. We put a lid onto the bowl (to prevent a spill) and left it on the windowsill.
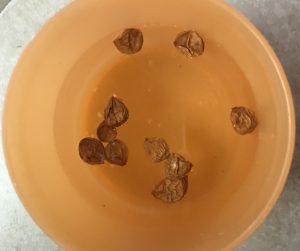
We checked them the next morning and found 2 were still floating. The rest had soaked up enough water to sink to the bottom.

After 2 days, there was only 1 seed that hadn’t soaked up enough water to sink. The rest were looking very plump and healthy.
The directions told us to soak the seeds for 3 days, so we put the lid back on and placed it back onto the windowsill for one more day of soaking.
Are you as excited as we are to watch our tiny seeds develop? Come back tomorrow to see what happens to them!
One response
Nice job, Beth.